How to export your QR code information and customise it for printing badges
Whether you’re running a conference, workshop, or any event with check-in, OneTap lets you export attendee Passport data so you can design and print custom badges. This guide walks you through everything you need to know.
Step 1 — Export your Passport data
-
Go to the Profiles tab in your OneTap dashboard
-
Click Export and select Report type as Passes
-
Download the
.xlsxfile — this contains all your attendee data, including the QR code information
Step 2 — Understand the columns in the export
The export includes several columns. Here are the key ones for badge printing:
| Column | What it contains | Use for badges? |
|---|---|---|
Name |
Attendee’s full name | |
Email |
Attendee’s email address | Optional |
URI |
Deep link for the OneTap scanner (onetap://passport-global-xxxx) |
|
Web Link |
Public webpage URL for the passport | |
Image Url |
Pre-generated QR code image hosted by OneTap | |
Pass Type |
Type of passport (e.g. global) | Optional |
Checkin Code |
Attendee check-in code | Optional |
Step 3 — Choose the right column for your QR code
This is the most important part. You have two options depending on your badge-printing tool:
Option A — Use the pre-generated QR code image (easiest)
The Image Url column contains a ready-made QR code image for each attendee. If your badge tool supports loading images from a URL, simply point it to the Image Url column — no QR generation needed.
Option B — Generate QR codes yourself
If your tool generates QR codes from data, use the URI column — not Web Link.
| Column | Example value | Result when scanned |
|---|---|---|
URI |
onetap://passport-global-4xf0empph8t9k |
Opens directly in the OneTap scanner app |
Web Link |
https://www.onetapcheckin.com/p/my-pass/onetap%3A%2F%2F… |
Opens a webpage in a browser — won’t check in the attendee |
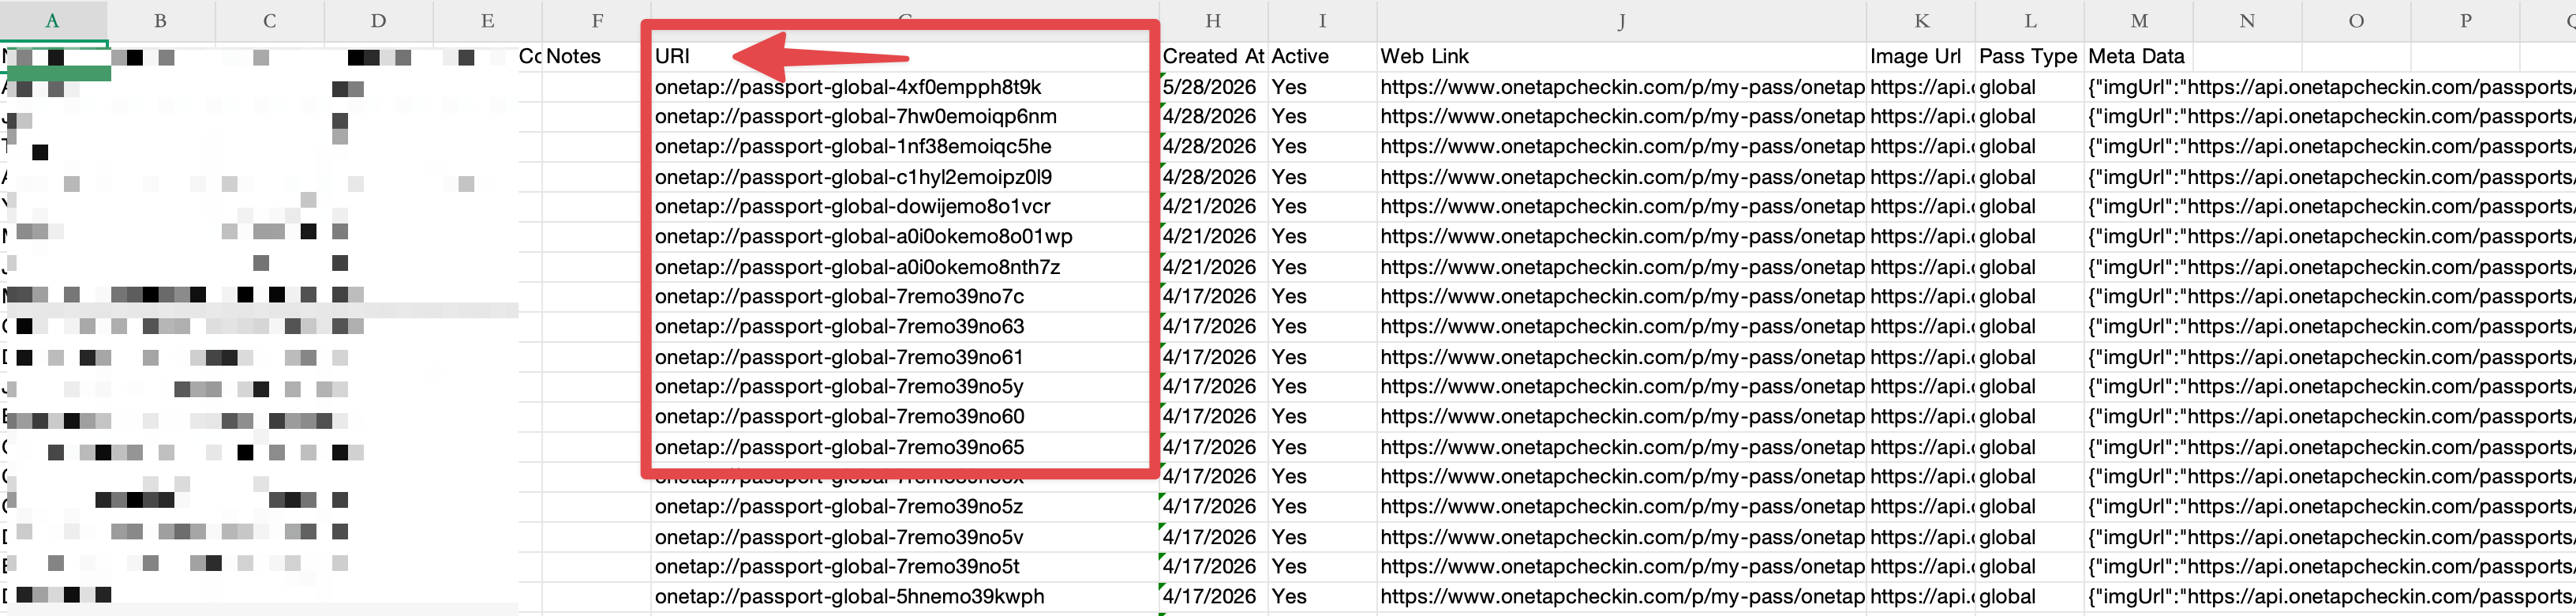
Common mistake: The
Web Linkcolumn looks like a valid URL and is easy to pick by accident. Always useURIwhen generating QR codes in a third-party tool.
Step 4 — Set up your badge layout
Once you have the right data, import the .xlsx into your badge-printing tool (e.g. Canva, Avery, Adobe, or any print shop software) and map the fields:
- Name field →
Namecolumn - QR code field →
URIcolumn (orImage Urlif supported) - Any other fields (email, role, company) → relevant columns or
Meta Data
Step 5 — Always test before printing
- Print one test badge before your full run
- Scan the QR code with the OneTap app to confirm it checks in correctly
- Only then proceed with the full batch
Have questions about badge printing or the export format? Drop a comment below — the Team is happy to help!